Installing wall mounted racks can significantly enhance your space by providing efficient storage solutions. Whether you’re organizing your garage, office, or living room, it’s essential to ensure that these racks are installed securely for long-lasting use. A proper installation not only maximizes your vertical space but also minimizes the risk of accidents. This guide will offer valuable tips and techniques to help you achieve a safe and effective installation, making your wall mounted racks both functional and reliable.
Understanding Wall Mounted Rack Types
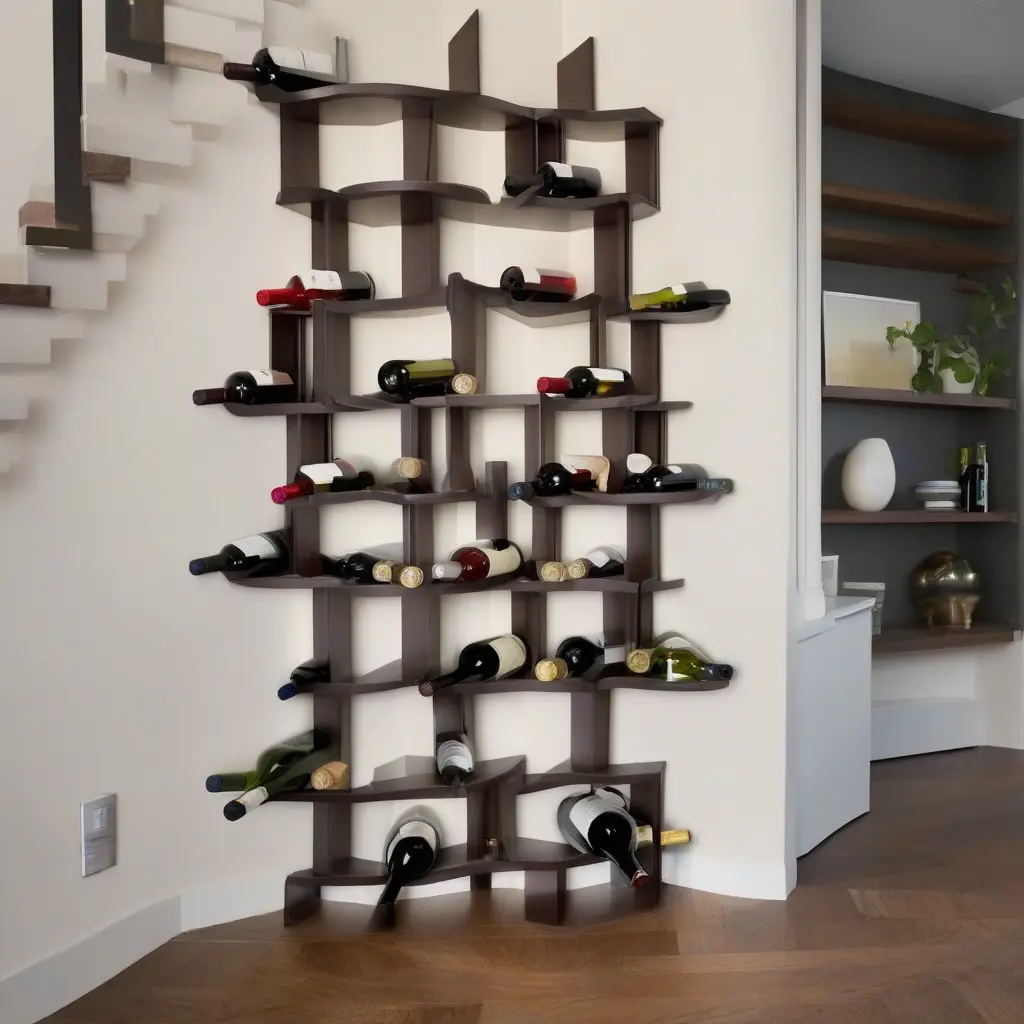
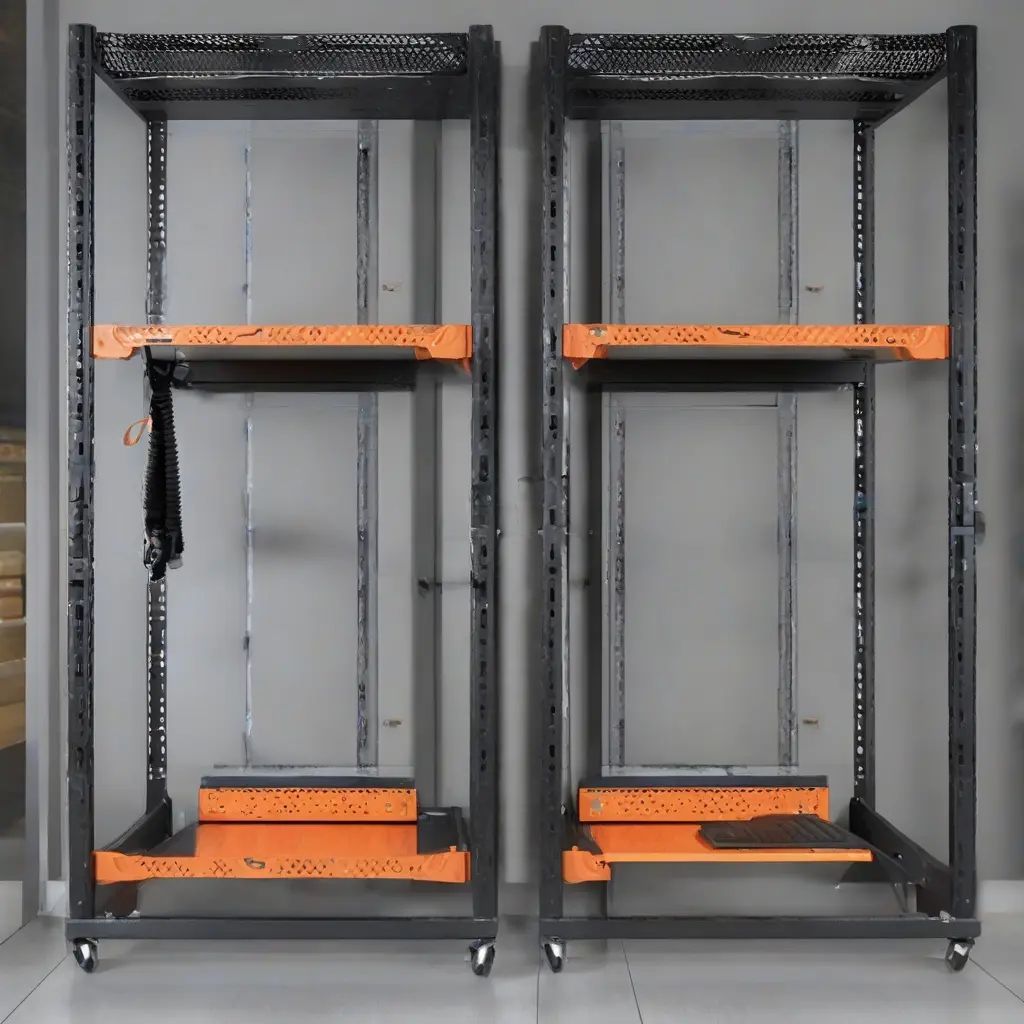
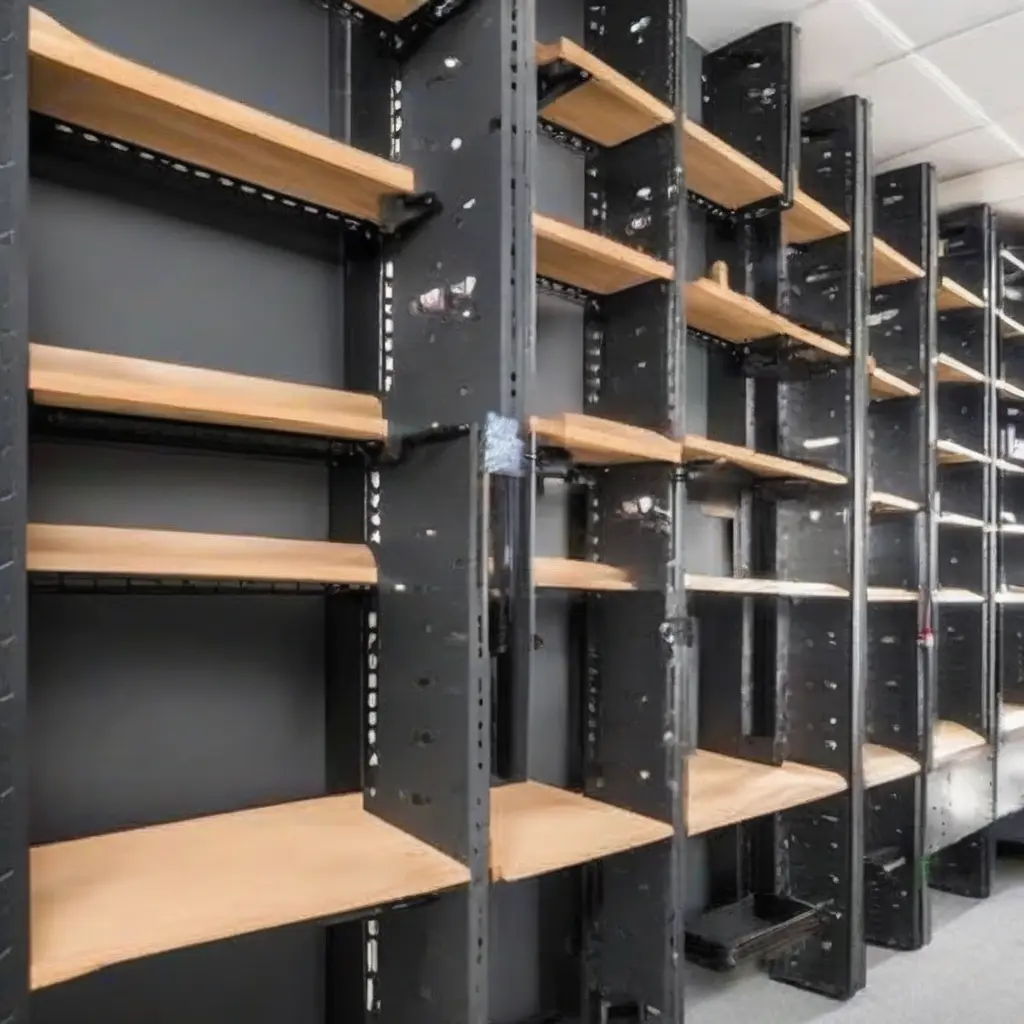
Before installing wall mounted racks, understanding the different types available is crucial. There are various styles to choose from, such as floating shelves, wire racks, and bracket systems, each serving distinct purposes. Floating shelves lend a minimalist look, ideal for decorative items, while wire racks are perfect for storage in utility areas. Bracket systems support heavier loads and are commonly used in garages or workshops. Knowing the right type for your needs is the first step toward a successful installation.
Choosing the Right Location
Selecting the right location for your wall mounted racks plays a vital role in their functionality and safety. Look for a wall that can support the weight of the racks and items that will be stored. Avoid installing racks over high-traffic areas or near electrical outlets to minimize hazards. Additionally, consider your accessibility needs; placing racks within easy reach ensures that the items stored will be utilized effectively without risk of accidents.
Assessing Wall Material
Before installation, it’s essential to assess the wall material to determine the best hardware and techniques for secure mounting. Common wall materials include drywall, concrete, and brick, each requiring specific anchors and screws. For drywall, use toggle bolts or wall anchors that can support the weight. For concrete and brick walls, utilize masonry screws and anchors to ensure a solid fit. Understanding your wall material will greatly enhance the integrity of your installation.
Gathering Necessary Tools
Proper tool selection is crucial for a successful installation of wall mounted racks. Basic tools typically include a level, drill, tape measure, stud finder, and appropriate screws or anchors. A level helps ensure that your racks are straight, which is essential for both aesthetics and safety. A stud finder will assist in locating wall studs for secure mounting, while the drill will help in creating precise holes for your screws. Having the right tools at hand will streamline your installation process.
Utilizing Studs for Support
When installing wall mounted racks, it’s highly recommended to anchor them into wall studs whenever possible. Studs provide a solid and stable base, capable of supporting significant weight. Use a stud finder to locate these beams, as mounting into them will reduce the likelihood of the racks pulling away from the wall over time. Mark their position and ensure that your mounting hardware aligns with these studs for the best stability.
Using Proper Hardware
Selecting appropriate mounting hardware is key to ensuring that your wall mounted racks remain securely fastened. The type of hardware you use will depend on your wall material as well as the weight of the items you intend to store. For lighter racks on drywall, plastic anchors and screws may suffice, while heavier loads require metal anchors or lag bolts. Always consult the manufacturer’s recommendations for hardware to ensure optimal safety and performance.
Measuring and Marking
Accurate measuring and marking are critical steps in the installation process for wall mounted racks. Begin by determining the desired height and spacing for your racks, and use a tape measure to mark these points clearly on the wall. A level should be utilized to ensure that markings are even across the mounted area. Taking the time to measure and mark accurately will lead to a more efficient and visually appealing installation.
Installing the Racks
Once you have prepared the wall and gathered your tools and materials, it’s time to install the racks. Start by aligning the racks with your markings, ensuring that they are level. Carefully drill pilot holes into the marked spots, and insert your chosen anchors. Next, secure the racks in place using screws, making sure they are tightened without being over-torqued, which may damage the wall. This step requires patience to ensure a secure fit that will last.
Testing for Stability
After installation, it’s crucial to test the stability of your wall mounted racks before loading them with items. Gently apply pressure to ensure they do not shift or wobble. Check that all screws and anchors are securely in place and tighten any loose fittings. This testing phase is essential for identifying any potential issues that could arise from improper installation and to confirm that your setup can safely bear the weight of stored items.
Regular Maintenance Checks
Performing regular maintenance checks on your wall mounted racks can help prevent accidents and ensure long-term functionality. Inspect for any signs of wear and tear, such as loose screws or damaged brackets. It’s advisable to check the stability of the racks periodically, especially if they hold heavier items. Address any concerns immediately to maintain a safe environment and extend the lifespan of your installed racks.
Conclusion
In conclusion, installing wall mounted racks involves careful planning, appropriate tools, and regular maintenance to ensure safety and functionality. By following the steps outlined above, you can effectively enhance your space with securely mounted racks that meet your storage needs. With a focus on the right materials, hardware, and ongoing checks, your installation will provide a reliable solution for organized living and working spaces.