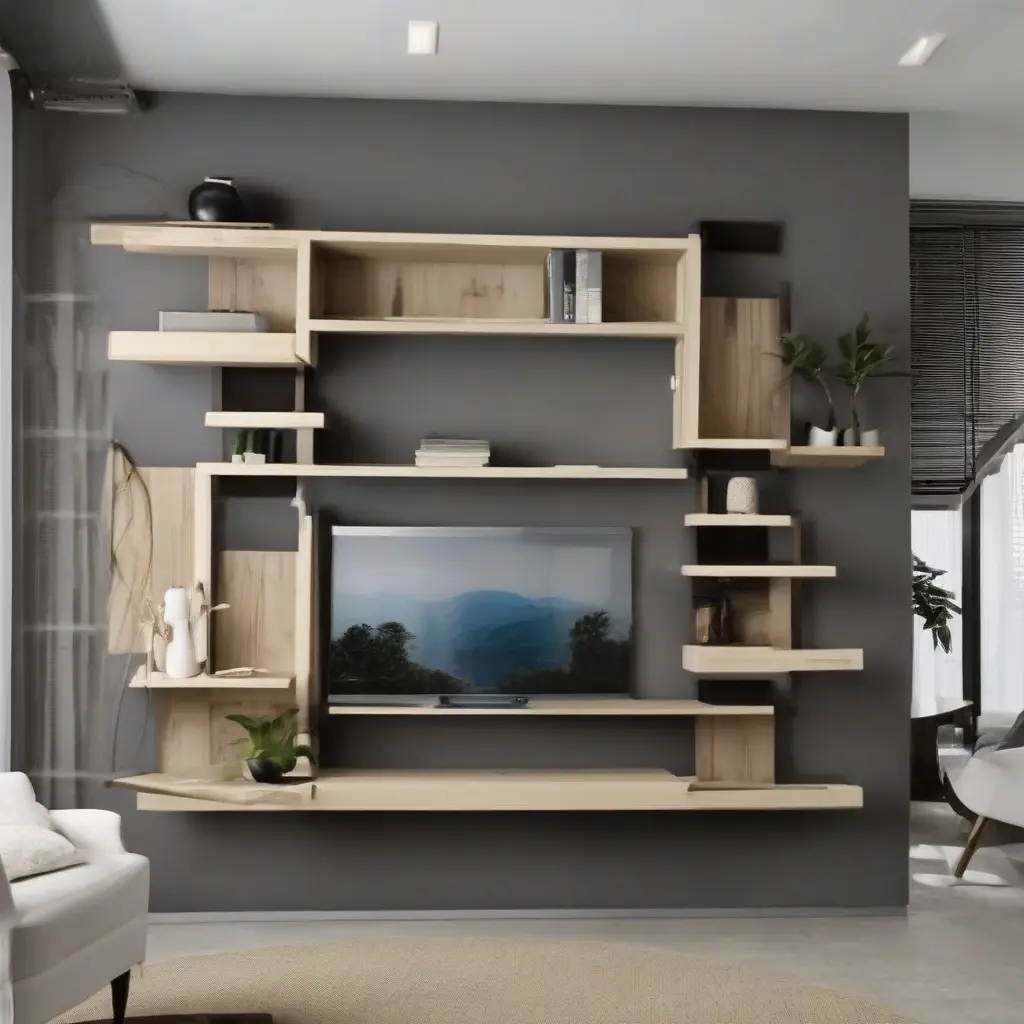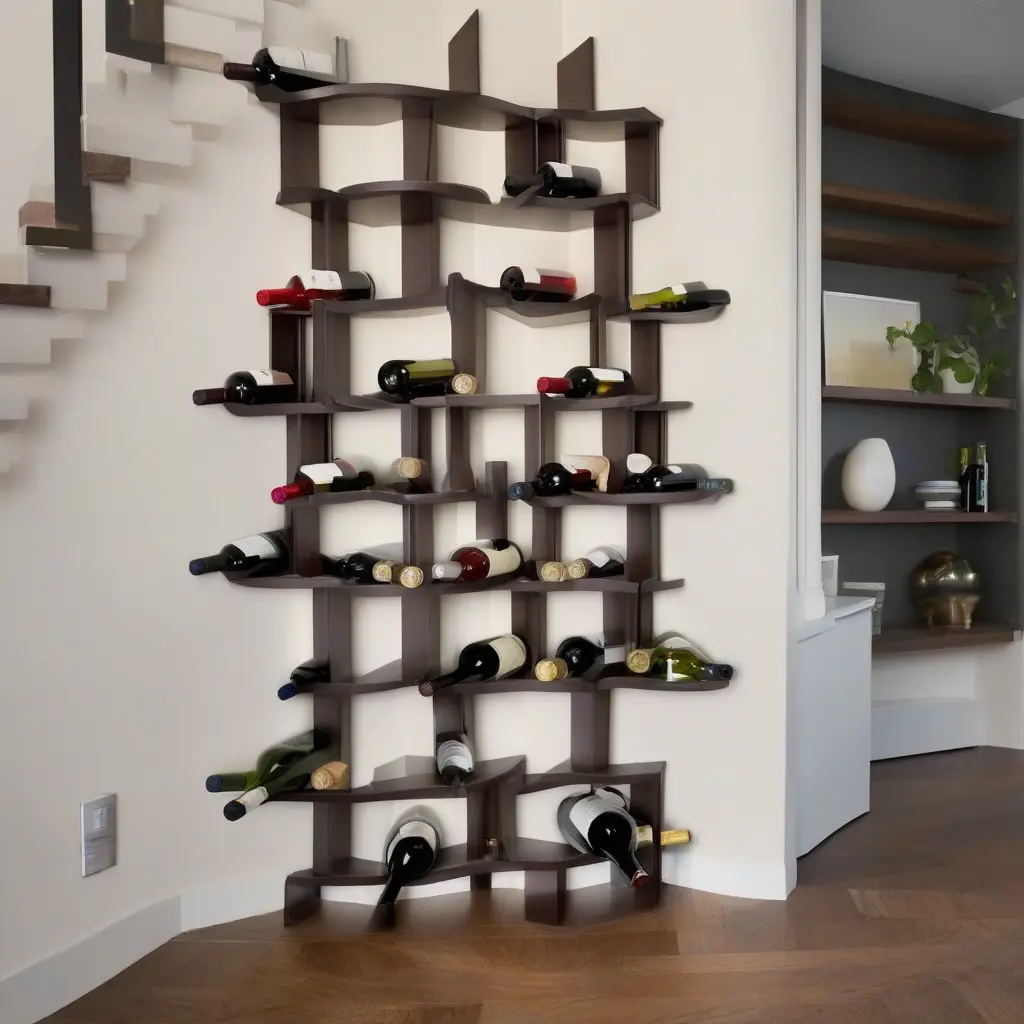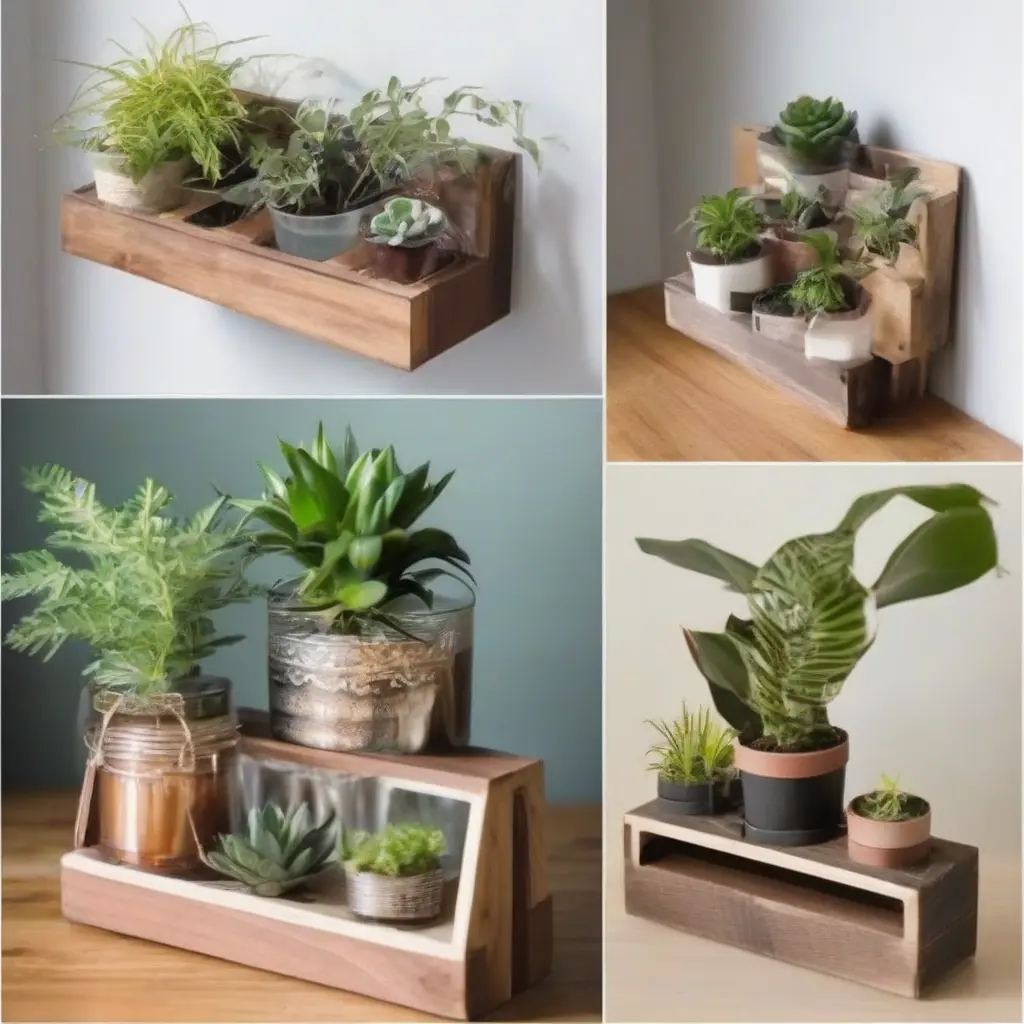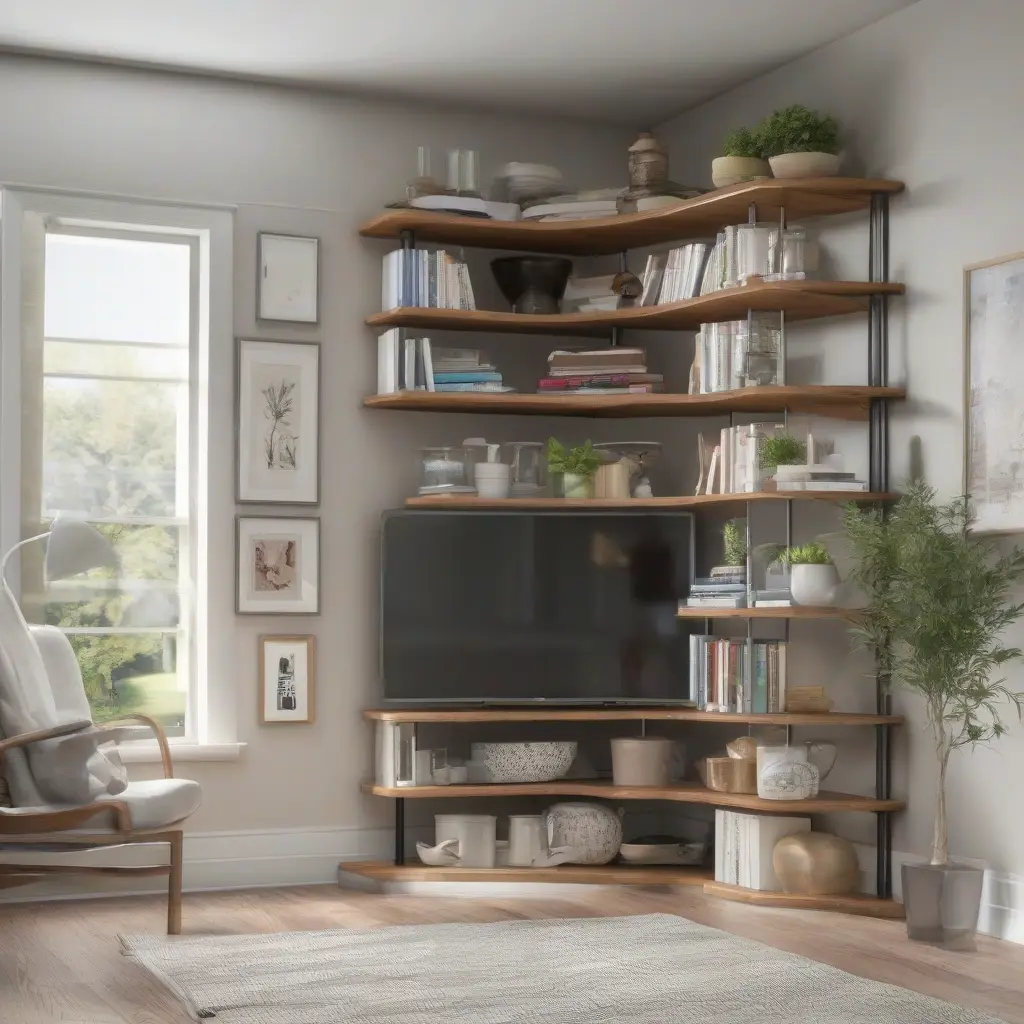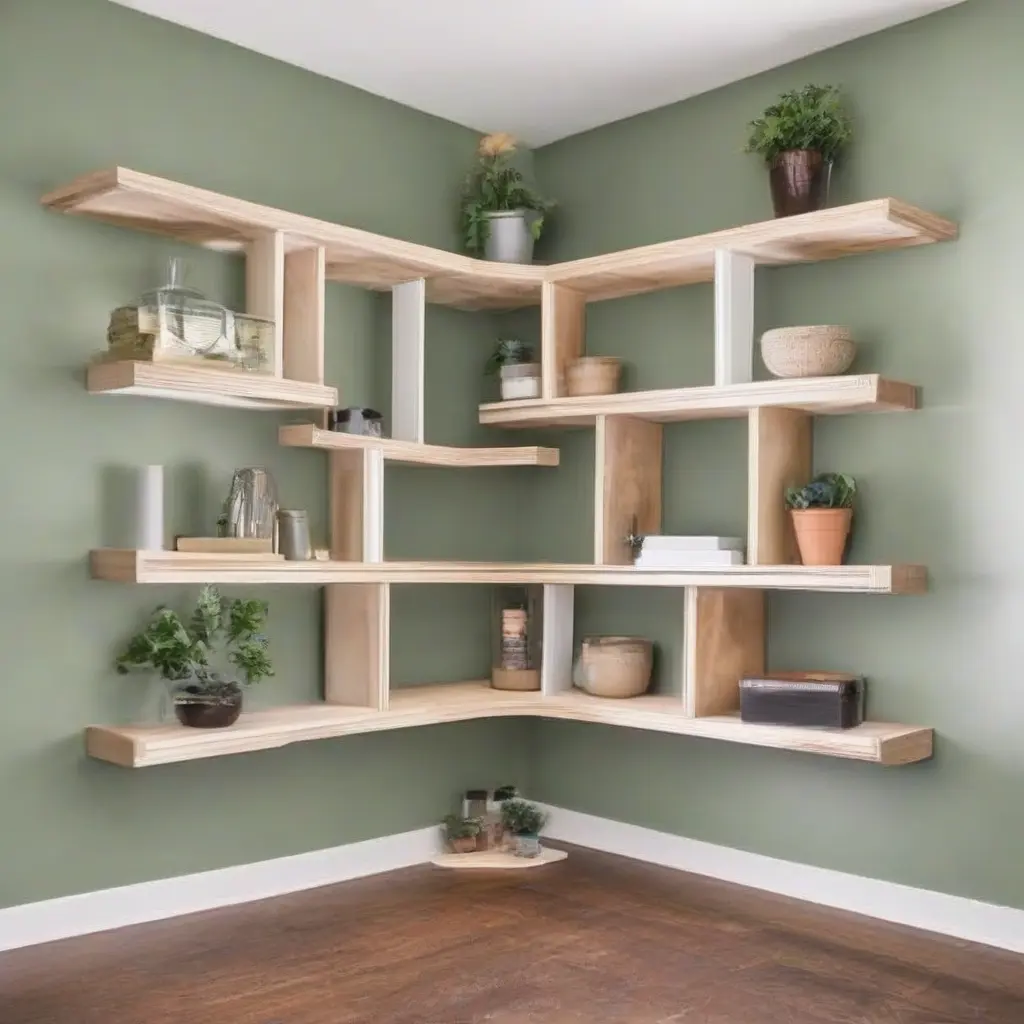
Creating DIY corner shelves can transform overlooked spaces into stylish storage or display areas. These functional and aesthetic additions can enhance any room while providing an excellent opportunity for beginners to delve into woodworking and home improvement. This step-by-step guide aims to provide clear instructions and helpful tips to ensure your corner shelf project is a success. Whether you seek practicality or a decorative element, this guide will assist you in crafting corner shelves that suit your needs and style.
Understanding the Benefits of Corner Shelves
Corner shelves are an excellent solution for maximizing wall space, especially in smaller rooms. They utilize often underused areas, allowing you to display decorative items or store books, plants, or other belongings. Additionally, corner shelves can enhance the aesthetic appeal of your home by adding dimension and character to boring corners. With various designs available, DIY corner shelves also offer personalized solutions, ensuring your shelves perfectly fit your style and functional needs.
Materials Needed for DIY Corner Shelves
Before starting your project, gather all necessary materials, which typically include shelves, brackets, screws, a stud finder, a level, and a drill. Choose sturdy wood like pine or plywood for the shelves, ensuring they can support the weight of your items. You’ll also need corner brackets to secure the shelves, providing stability and a clean look. Additionally, gather tools such as a saw, tape measure, and sandpaper to ensure precise cuts and smooth edges. Having everything ready will streamline your process.
Selecting the Right Location for Your Corner Shelves
Choosing the perfect spot for your corner shelves is crucial to their effectiveness and visual appeal. Consider locations that enhance functionality, such as living rooms, bedrooms, or kitchens. Assess the wall space by ensuring it is free from obstructions, and factor in the height and width of nearby furniture to ensure harmonious placement. Utilize a stud finder to locate wall studs in your chosen location, as this will provide the most durable and secure anchor points for your shelves.
Measuring and Planning Your Corner Shelves
Accurate measurement is key when planning your corner shelves. Start by determining the desired height at which you want to install the shelves, considering both visibility and ease of access. Use a measuring tape to mark the locations on the wall where the brackets will be installed. Be sure to measure the depth of the shelves, ensuring they will fit comfortably in the corner without protruding too far into the room. This careful planning will help you avoid common installation issues.
Cutting Your Shelves to Size
Once measurements are complete, cut your shelves to the desired size using a saw. It’s essential to make clean, precise cuts to ensure proper fitting within the corner. If you are unsure about your cutting skills, consider practicing on scrap wood before cutting your actual shelves. Additionally, it can be helpful to create a template to guide your cuts, ensuring consistency. Take care to follow safety guidelines during this process, wearing protective eyewear and gloves as necessary.
Sanding and Finishing Your Shelves
After cutting, sand the edges and surfaces of your shelves to remove any splinters or rough areas. Start with coarse sandpaper and gradually move to finer grades for a smooth finish. This step not only enhances the appearance of the shelves but also prepares the surface for paint or stain. Choosing a finish that complements your home’s decor can elevate the overall look. Consider applying a wood stain or paint to bring out the grain or add a pop of color, ensuring that the finish is suitable for indoor use.
Installing the Corner Brackets
With your shelves ready, it’s time to install the corner brackets. Start by positioning the brackets at the marked locations and use a level to ensure they are straight. Secure the brackets to the wall using screws, making sure to anchor them into wall studs for maximum stability. Check that the brackets are firm and ready to support the shelves. Proper installation of the brackets is crucial, as they not only hold the shelves but also ensure they remain safe to use.
Placing and Securing the Shelves
Once the brackets are securely installed, gently place your shelves onto them. Ensure each shelf fits snugly against the brackets. Depending on your chosen bracket type, you may need to secure the shelves further by adding screws through the brackets into the shelves for added stability. This step is particularly important if you plan to place heavier items on your shelves. Ensure everything is level and securely fitted before adding any decor or items.
Styling Your Newly Installed Corner Shelves
With your corner shelves installed, it’s time to style them. Consider incorporating a mix of items, such as books, plants, and decorative pieces, to create visual interest. Utilize varying heights and textures for a more dynamic look. You may also want to group similar items, which can create harmony and balance across the shelves. Remember to leave some space free to avoid clutter, as open areas can enhance the overall aesthetic and make each item stand out.
Maintaining Your Corner Shelves
Proper maintenance of your corner shelves is essential to keep them looking great and functioning well. Regularly dust the surfaces to prevent build-up and consider using furniture polish on wood finishes for added sheen. It’s also important to check the stability of the brackets and shelves periodically, tightening any loose screws if necessary. When rearranging items, ensure that you do not overload the shelves, as doing so can compromise their integrity.
Conclusion
DIY corner shelves are a rewarding project for beginners, combining creativity with practicality. By following this step-by-step guide, you can successfully create stylish and functional shelves that enhance your space. With careful planning, accurate measurements, and thoughtful styling, your corner shelves will be a unique addition to your home, reflecting your personal taste while maximizing storage.