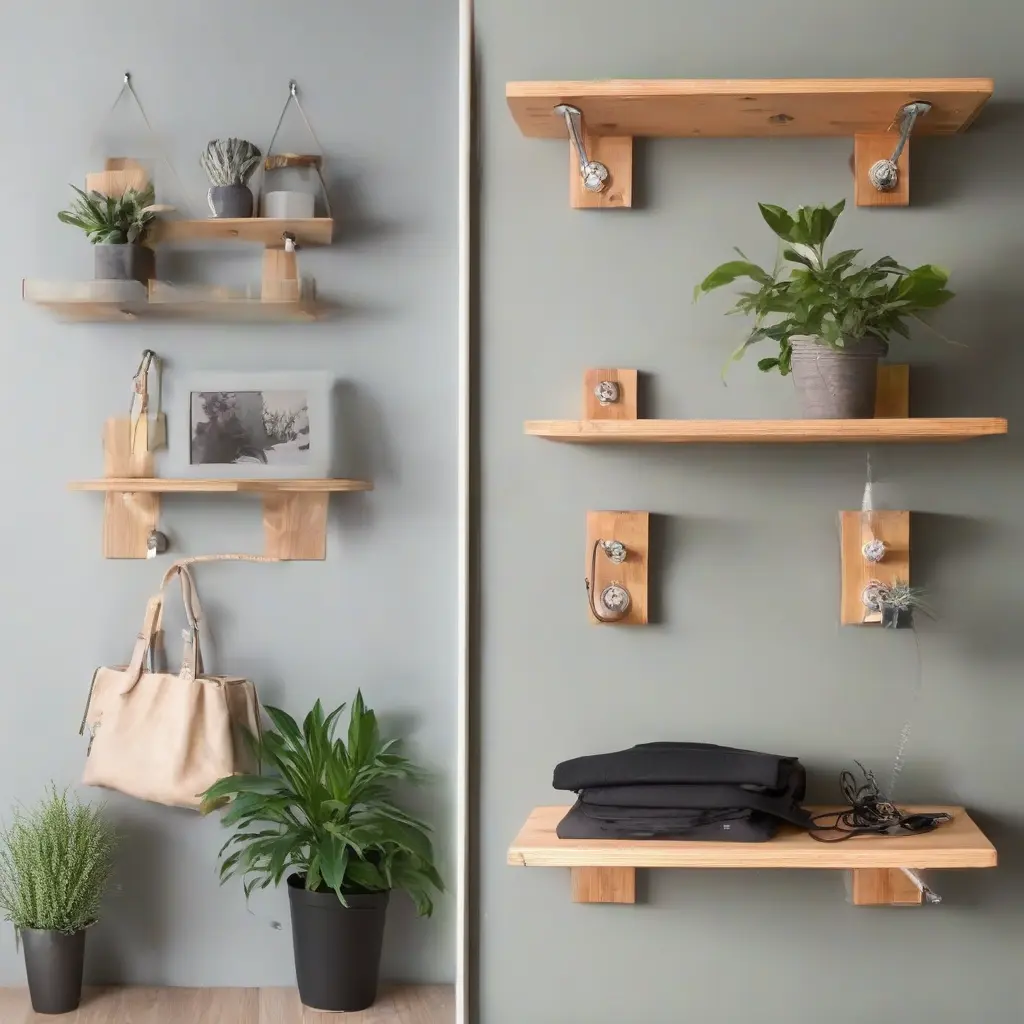
Creating your own wall-mounted racks can be both a functional and aesthetic addition to your home. This step-by-step guide is designed for beginners who want to explore practical organization while adding a personal touch to their space. Wall mounted racks not only save valuable floor space but also enhance the decor of your home. By following simple materials and methods, you can craft customized racks that suit your storage needs and stylistic preferences.
Understanding Wall Mounted Racks
Wall mounted racks are versatile storage solutions that can hold a variety of items, including tools, books, plants, and decor. They are typically made from materials such as wood, metal, or plastic and can be designed to match the interior of your home. The benefit of wall mounted racks lies in their ability to utilize vertical space effectively, which lessens clutter and improves organization. Understanding the different types of racks available can help you choose the best design for your specific needs.
Tools and Materials Required
Before embarking on your DIY wall mounted rack project, it’s essential to gather the necessary tools and materials. Common tools include a drill, level, saw, and screwdriver, while materials might include wood planks, brackets, screws, and paint or stain. Choosing the right materials is crucial for durability and aesthetic appeal. Always ensure that the materials you select can support the intended weight of what you plan to store on the rack.
Choosing the Right Location
Selecting the ideal location for your wall mounted rack significantly impacts both functionality and style. Consider areas where you need additional storage, such as entryways, kitchens, or garages. Avoid placing racks in spots where they may obstruct pathways or interfere with everyday activities. Measuring the wall space accurately can guide you in choosing the right size and style of rack that will fit harmoniously into your existing decor.
Measuring and Marking the Wall
Accurate measurement is critical for a successful installation of wall mounted racks. Begin by deciding the height at which you want the rack to be mounted. Use a tape measure to determine the vertical and horizontal space required and mark these points clearly on the wall using a pencil. A level can assist in ensuring that your marks are straight and aligned, preventing any crooked installations that may detract from the overall appearance.
Assembling the Rack
Once your wall has been marked and prepared, it’s time to assemble your rack. Depending on your design, this may involve attaching brackets to wooden planks or constructing a frame using metal components. Follow any included instructions carefully to avoid errors. Pre-drilling holes can simplify the process and reduce the risk of splitting your wood. This step ensures a secure build that will stand the test of time.
Preparing the Wall for Installation
Before attaching your rack, ensure that the wall surface is clean and free of debris. If you’re mounting on drywall, consider using wall anchors to provide extra support. For masonry or brick walls, special masonry screws or anchors are required. This preparation is crucial, as it helps to prevent future issues with stability and ensures that your rack will function effectively in holding its intended weight.
Installing the Rack
Installation involves aligning your assembled rack with the marked points on the wall. Using a level, ensure the rack is straight before securing it with screws or anchors. Begin fastening at one end and gradually work your way to the other, double-checking the level as you go. Adequate tightening is important to prevent wobbling. Installation should evoke confidence that your rack will be stable and reliable once loaded.
Finishing Touches
After the rack is securely installed, it’s time to add personal touches. This may include painting or staining to match your room’s decor and to protect the wood from wear. Stencils or decorative brackets can enhance the overall look. Additional hooks or clips may also be incorporated for added functionality. These finishing touches not only can improve the aesthetics but also offer practicality, allowing you to customize the rack to suit your needs.
Organizing Your Wall Mounted Rack
With your wall mounted rack installed and personalized, the next step is organizing it efficiently. Start by grouping similar items together for easy access. For example, if your rack is in a garage, keep tools in one section and gardening supplies in another. Utilize vertical space by stacking items or using baskets to containing smaller objects. An organized rack facilitates productivity, making it easier to find items when needed.
Maintaining Your Wall Mounted Rack
To ensure your wall mounted rack remains functional and attractive over time, regular maintenance is key. Check for any signs of wear or loosening screws periodically. Keeping the rack clean from dust and debris will improve its appearance and longevity. Depending on the materials used, you may need to touch up paint or apply protective finishes to wood components. By investing time in maintenance, you can prolong the life and utility of your rack.
Exploring Different Designs
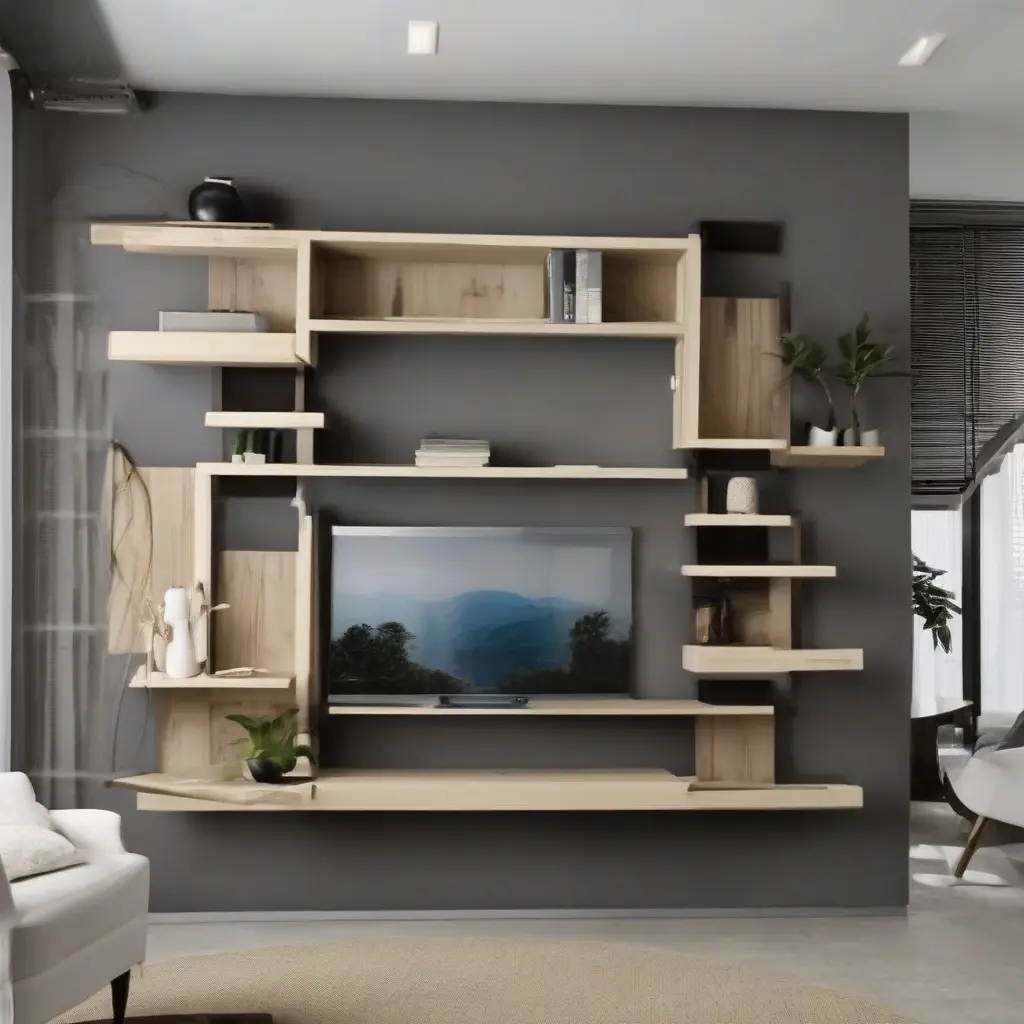
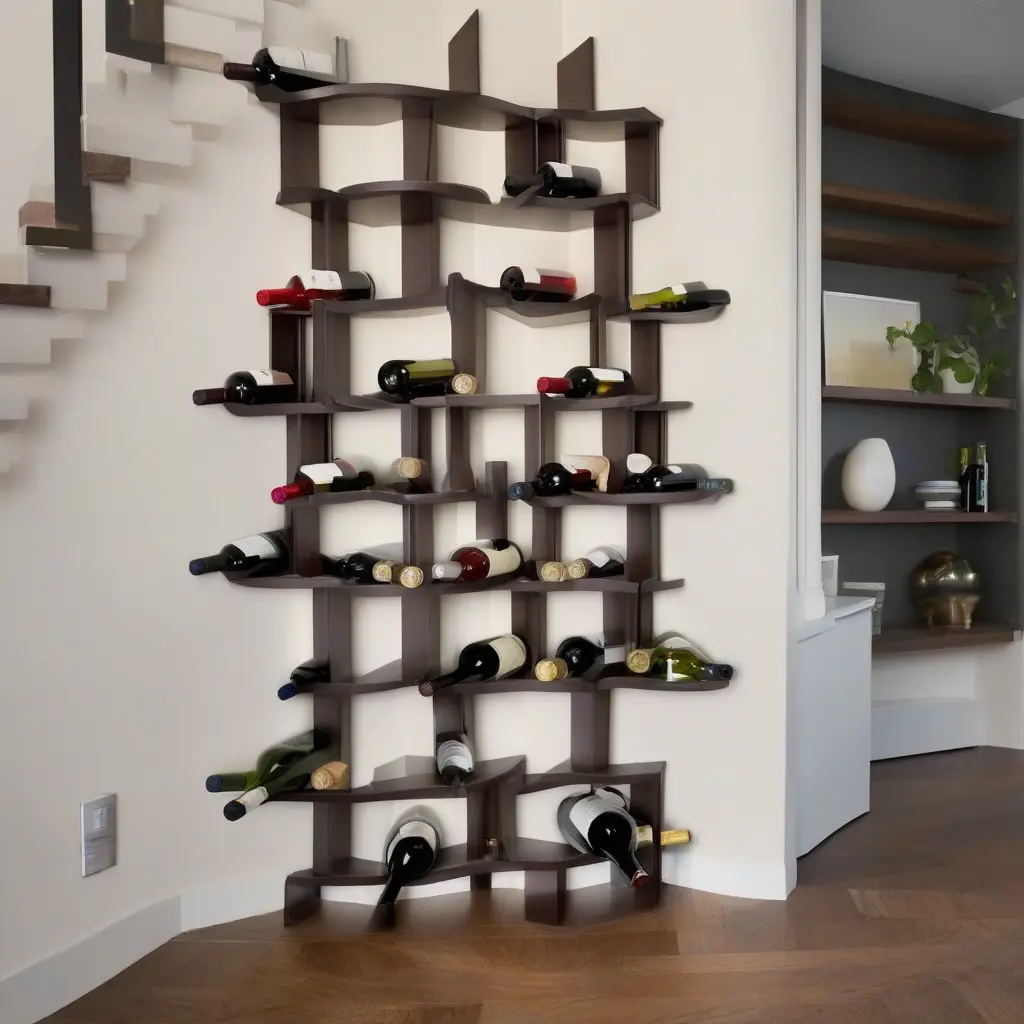
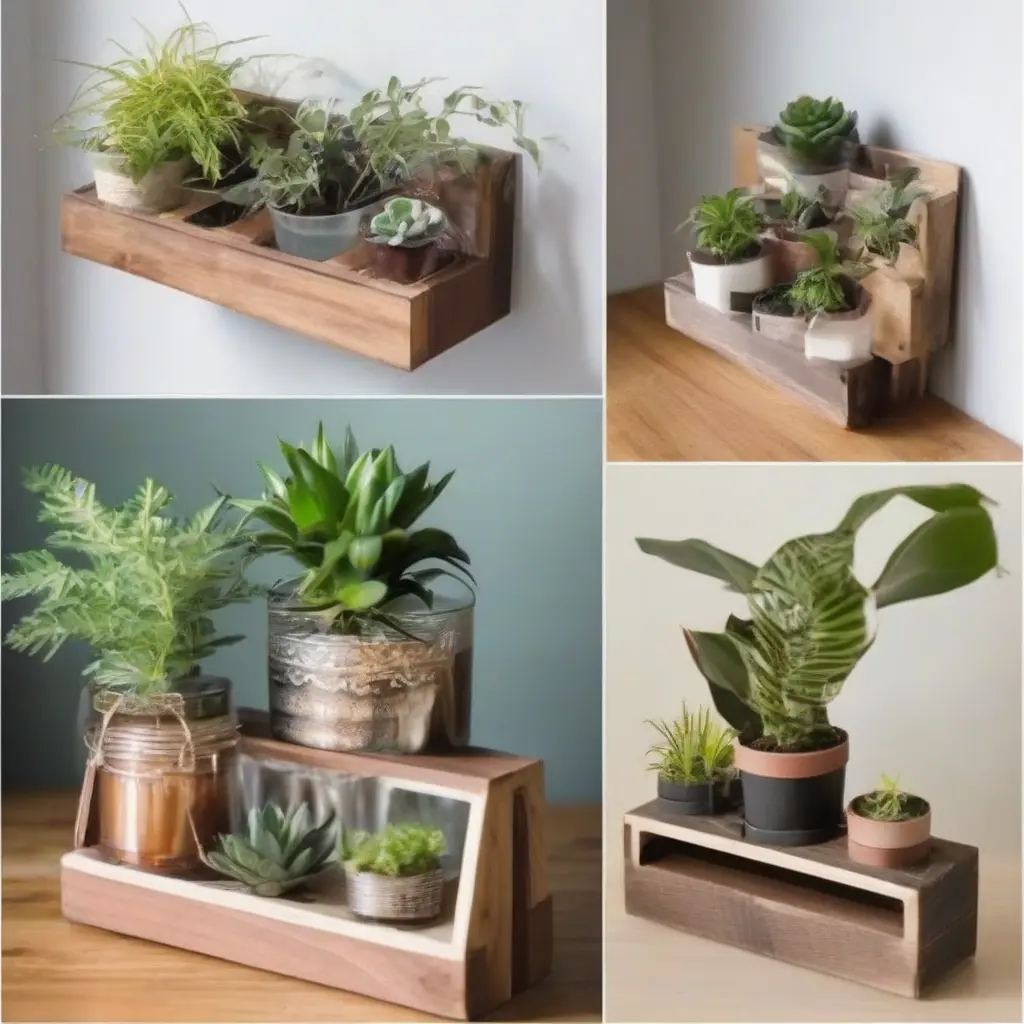
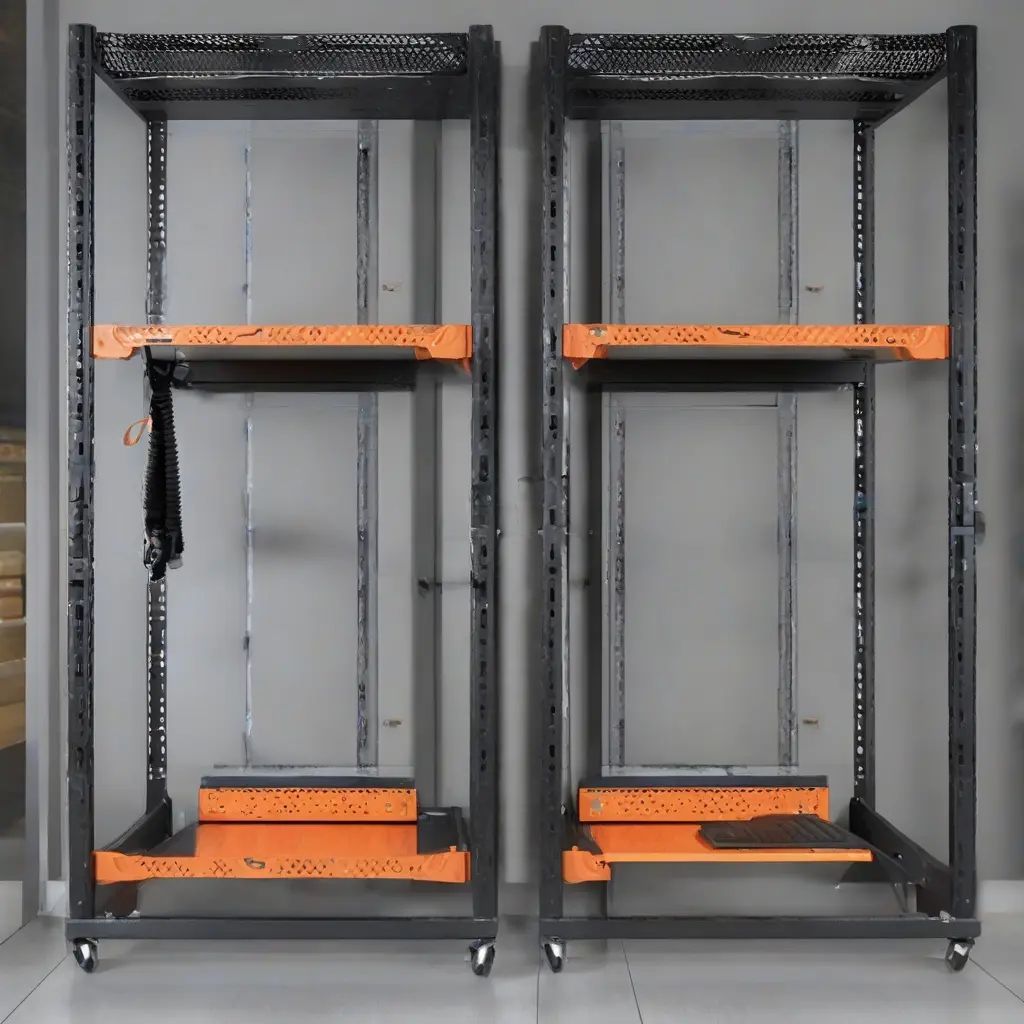
As DIY enthusiasts grow in experience, exploring various rack designs can add uniqueness to any space. Consider floating shelves, industrial-style racks, or rustic wooden designs. Each style offers different benefits, such as minimalist aesthetics or increased storage capacity. Researching diverse designs can inspire creativity and ensure that the chosen rack aligns with both functional needs and desired visual aesthetics in your home.
Conclusion
Creating a DIY wall mounted rack can be a fulfilling project, offering both functionality and personal expression. With proper planning and execution, beginners can successfully create an attractive storage solution that maximizes vertical space. This guide serves as a stepping stone for those interested in crafting unique storage solutions, encouraging everyone to explore their creativity and organizational skills.